How to setup a Directory Sync
This guide helps you add a Directory Synchronization (DirectorySync) to a specific organization's
Before you start
There are a few essential elements to consider:
- Cryptr Account: Create your free Cryptr account now 🔥. With a Cryptr account you'll be able to create your PROVIZ Connection.
- Organization: An organization that represents your customer. Follow this link to learn more about Organization.
Organizations use their
organizations.We will see together how you can easily and quickly set up DirectorySync
What is SCIM and Identity Provider
First it is important to understand a few concepts. If you won’t you can go ahead directly to the first step of the integration. Cryptr uses the SCIM protocol to communicate with the identity provider of your customers (Organizations), and adds some nice features around.
The identity provider (or users directory provider) of your customer.
You will often see the term Identity Provider. This is your customer’s
- Azure Active Directory
- Okta
- Ping Identity
Other providers are coming very soon.
The SCIM protocol
System for Cross-domain Identity Management (SCIM) is a standard for automating the exchange of user identity information between identity
For example, if a user is updated on the side of your Identity Provider, this change will be automatically propagated to the services linked to your Identity Provider.
Currently Cryptr supports the following Identity Providers:
- Azure Active Directory
- Okta
- Ping One (Ping Identity)
In principle, this should work on other services since the SCIM is a standard. However, some Identity Providers may behave differently.
Step 1. Directory Sync Connection (PROVIZ) creation
With a created Organization, we can create a Directory Sync for the Organization. This Directory Sync will enable the directory synchronization (SCIM protocol) by
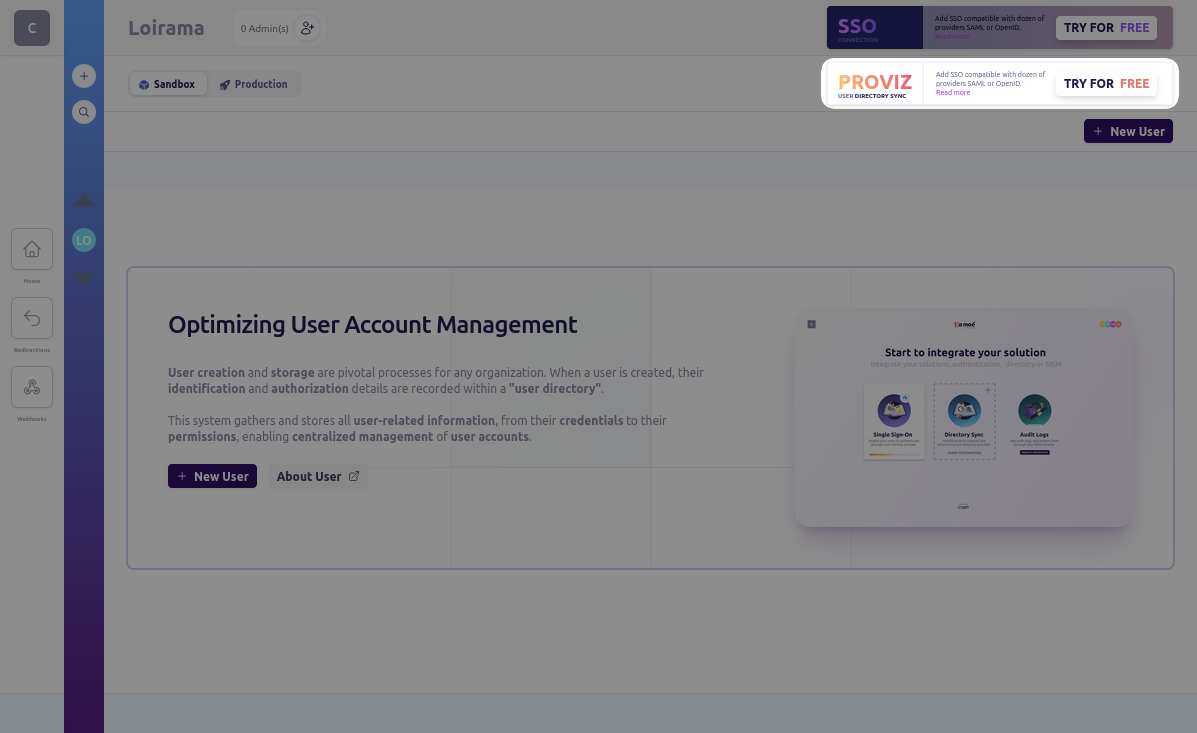
Simply go to your Dashboard, and when you're connected to the Cryptr platform, navigate to the page dedicated to the Organization you want to activate the Synchronization for. You can choose the Organization through the User Directory Sidebar Navigation on the left side of your screen.
Upon reaching your Organization page, activate PROVIZ for this Organization by clicking on the TRY FOR FREE button located in the PROVIZ Connection section at the top right of your dashboard.
Once this has been done, your customer's Admin can begin integration 👌.
When you update your provider (eg, you want to use Okta instead of Azure AD) the auth_secret_token will be reset. This is a security measure that will disable the old auth_secret_token.
Please care to store in a safe way the secret, like AES encryption with the AES key as environment variable.
2. Setup to test synchronization by yourself
You need a fully-configured Directory Sync to test the synchronization, that means you have to act as your own Customer administrator, and finalize the setup yourself. This is the occasion to understand your future delightful customer experience 😎:
To do this, invite yourself with your own email address, then follow the instructions and your PROVIZ service will be ready 👌.

You can invite yourself by going to your Organization page in the same way as above. Once on this page, you can invite the administrators (in this case yourself) by clicking on the button at the top left of the page.
What's next
Invite the Customer's Admin
You've already self-onboarded using your own email; now, you can dive deeper into admin onboarding with the aforementioned guide.
More:
You can also consult our API Ref to perform these actions via the