Cryptr API Postman Collection
Discover an all-inclusive Postman collection designed to encompass the expansive capabilities of the Cryptr API. You may find its documentation at docs.cryptr.co/api for a comprehensive understanding of its features and functionalities.
📋 Prerequisites
- Download Postman
- No prior knowledge is required. However you will need an
api_key_client_idand anapi_key_client_secretto follow this guide.
To obtain your API key, please reach out to our Sales Support Team for assistance.
Let's get started!
🗃️ Installing the Collections
Fork a collection
To get started, you will fork the collections and the environment into your workspace from Cryptr’s public workspace within Postman.

Fork collection

Fork environment
Choose a fork label to distinguish it from the original, select "My Workspace," check "Watch original collection" to receive updates, and then click the "Fork Collection" button.
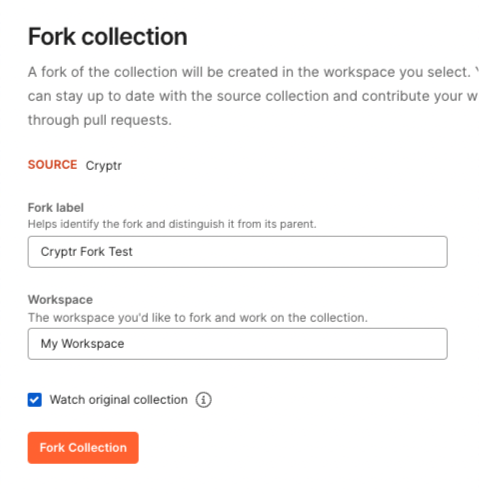
Fork form
You can now start using API requests once you have forked the collections.
The Cryptr API collection is organized into folders that classify the different API requests according to the endpoint. Thus, you will find all the organizations' methods in the Users Directories/Organizations folder. If you want to execute an API request, just navigate to the endpoint file (POST, GET, etc.) in the sidebar and select it.
- The information to provide will be listed in the Params and/or Body tab, you will just have to replace the values in the Value column.
- You can uncheck or check also the params that are not required and that interest you.
- Required parameters will be indicated by “(Required)” in the Description column.
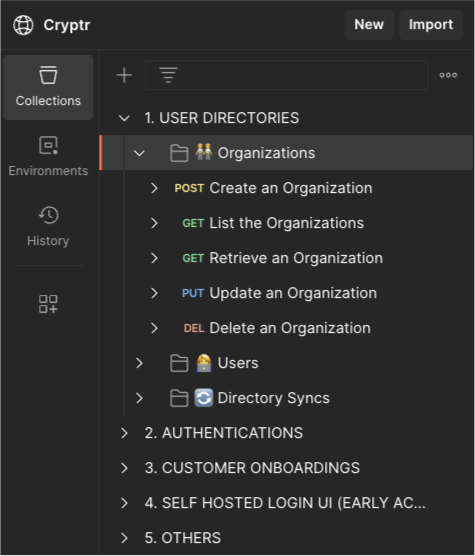
Collection
💻 Environment variables
Let's start adding variables to your environment file:
Make sure you have the variables below if you've forked the environment:
- Variable called
my_domainwith the value of your organization's domain. - Variable called
api_key_client_idwith the value of your previously retrieved client_id. - Variable called
api_key_client_secretwith the value of your previously retrieved client_secret. → Set type to secret - Variable called
cryptr_service_urlwith the value of URL.
Save file cmd + S

You must now select your environment:
- Click on No Environnment at the top right and choose your environment file:

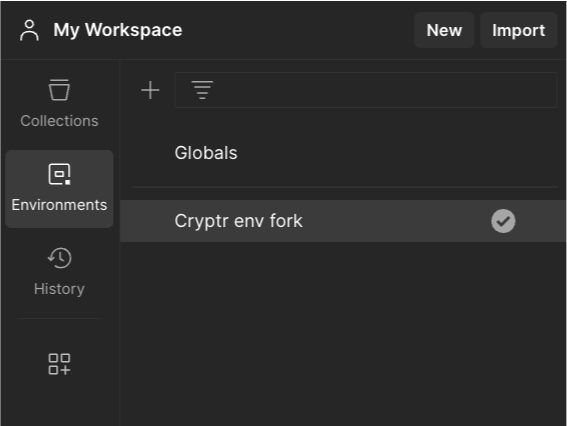
Choose environment file
Once selected, a check icon appears next to the name of your environment file (in the left menu where the list of your environment files is displayed) to indicate the selected file:
🔑 How to get an access token
You must now generate a token. To generate a token, go back to your collection, in the sidebar click on the Collections button icon then on the name of your collection.

Navigate to get an access token
The collection has a parameter Authorizations where the fields are pre-filled, you just have to click on the Get New Access Token button
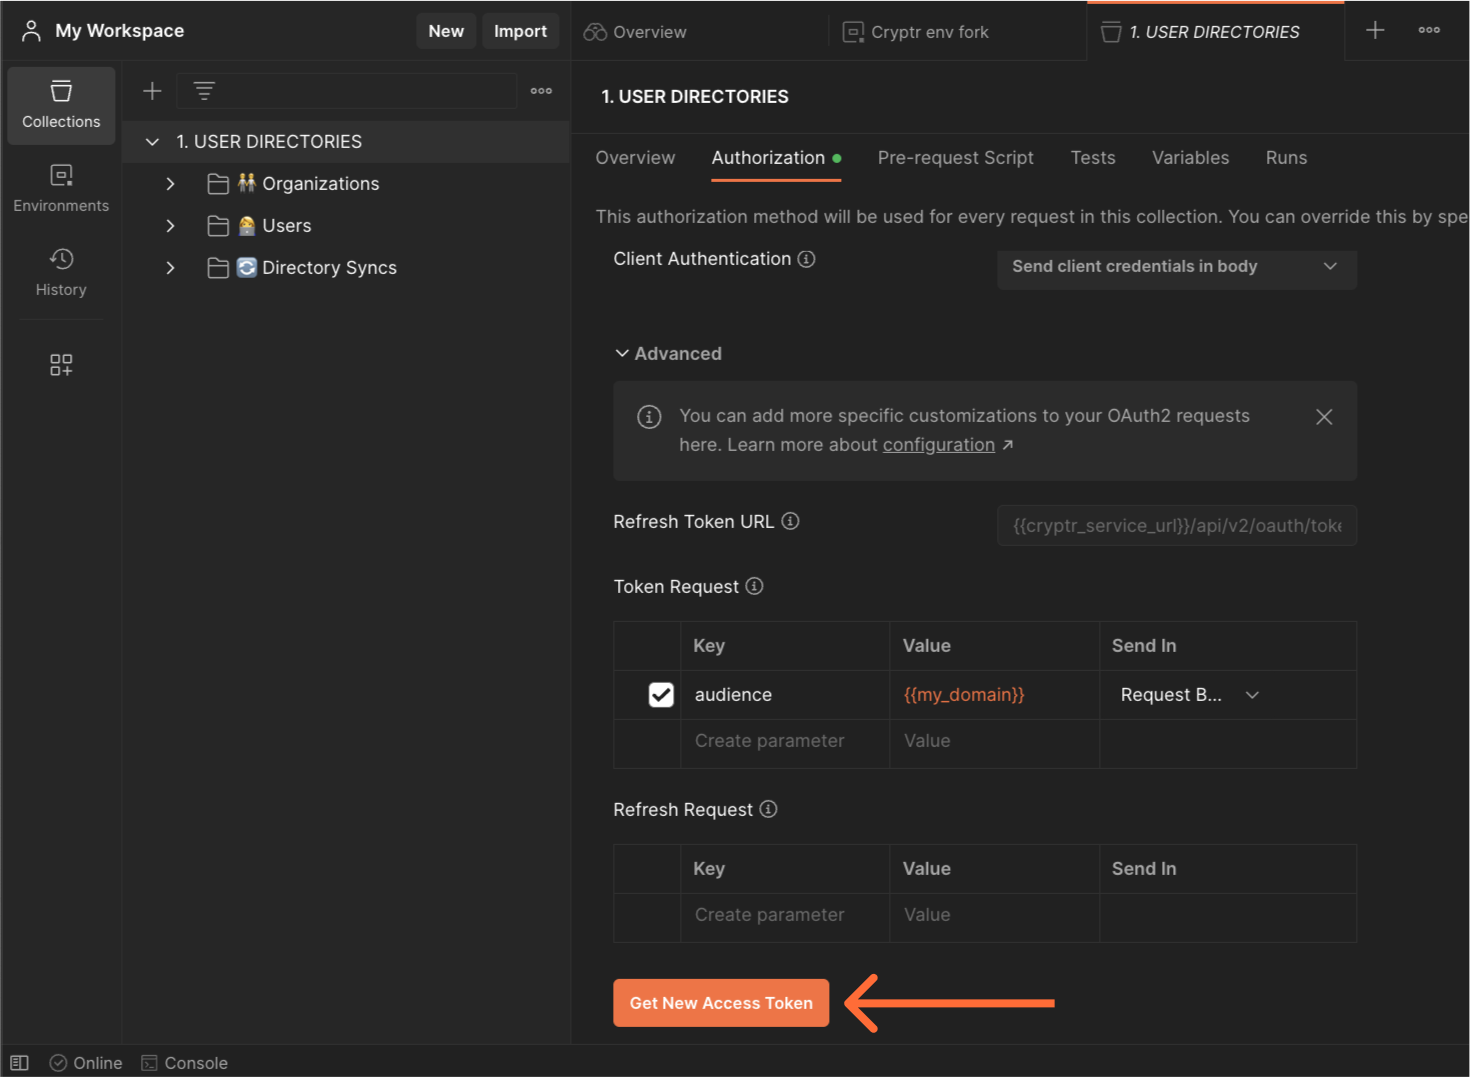
Get New Access Token
Once the authentication is successful, click on the Proceed button or wait a few seconds.

Now click on the Use Token button
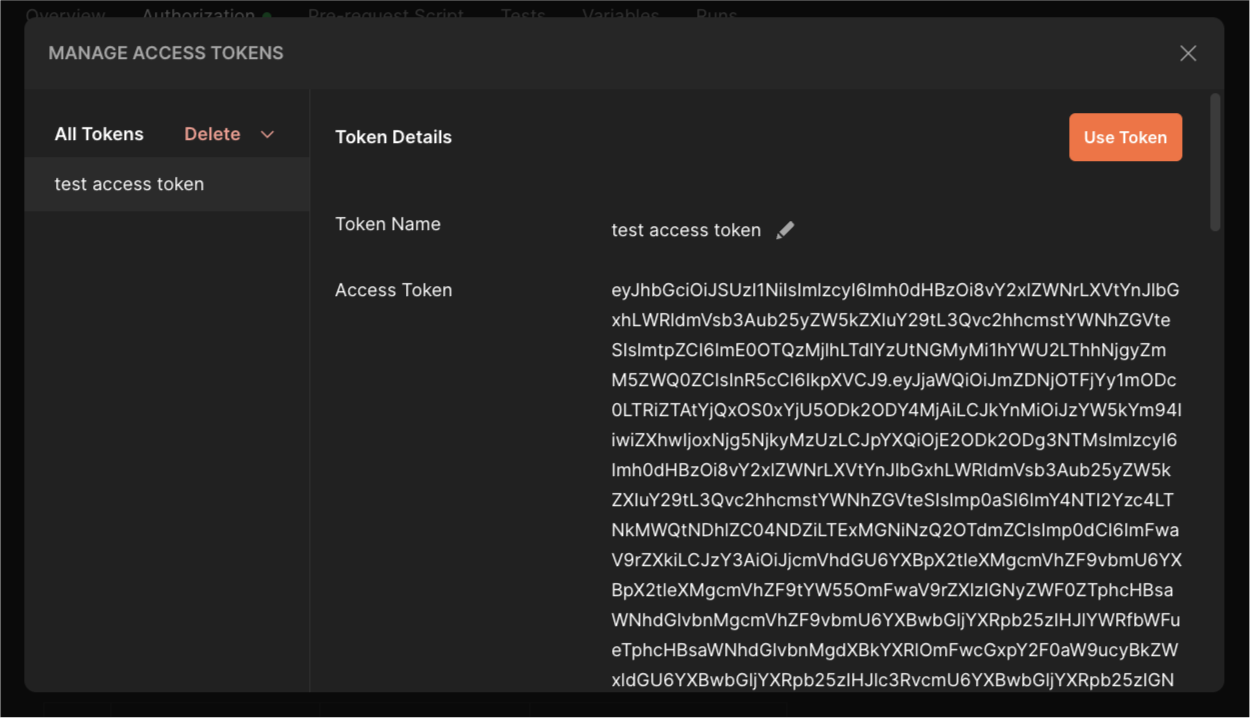
You can now send API requests.
🚀 How to use the access token to query the Cryptr API
- Queries use parameters you need
- Parameters not required can be unchecked
- When you send a request, the response is displayed as JSON
- When you already retrieved a token on the collection, you can use "inherit from parent" in any child request of it (even it's created)
Let's send our first request, we will take as an example the creation of an organization.
The collection is composed of folders containing several queries, these queries correspond to the actions you can perform.
Unfold the collection and navigate to the Create an Organization endpoint

Once the value of the name and allowed_email_domains[] parameters have been modified, you can click on the Send button at the top right
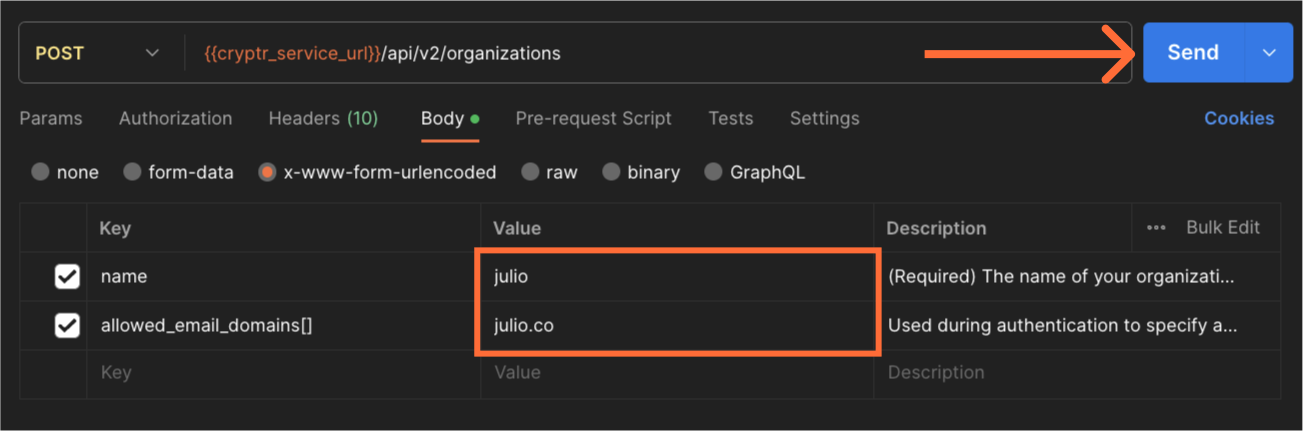
Send request
And that's it! The result of our request is displayed in JSON in the body (below the table of params). It is a success since the status is in 201.

🛟 Get support
If you encounter a bug or would like to propose a new feature, please get in touch with us.